DIY Bath Boxing Transform Your Bathroom with This Simple Project
DIY Bath Boxing: Transform Your Bathroom with This Simple Project
One of the finishing touches that can completely change the look of your bathroom is boxing in a bath. Whether you are dealing with visible pipes or simply want a cleaner, more modern design, this easy do-it-yourself project is both practical and stylish.
This article will guide you through all of the information you need to properly box in a bath, regardless of whether you’re updating your bathroom on a budget or doing a full makeover.
What exactly does boxing in a bath mean?
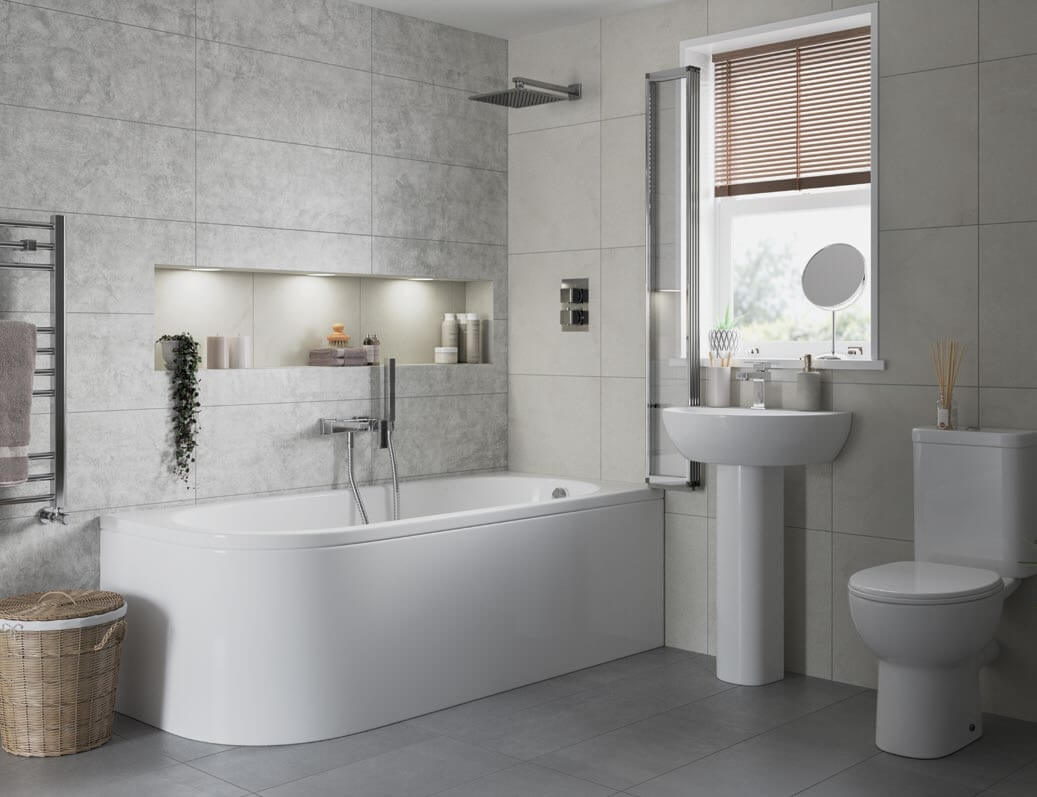
Boxing in a bath is installing a panel or enclosure around the sides of your bathtub to conceal any exposed pipework, unattractive framing, or gaps, which is a key element of any bathroom remodel. It’s often featured in modern bathrooms, making everything look neater and more polished.
The box is usually made from waterproof MDF, plywood, or tile backer boards, which can be coated with waterproof panels, painted, or tiled to complement the design of your bathroom.
Why should you box in your bath?
The following are some of the several enticing reasons to box in your bath:
- To enhance the appearance of your bathroom, you should conceal the pipework and give it a seamless style that adds to your bathroom’s ambiance.
- Practicality – protect your plumbing by covering the pipes from dust, knocks, and any incidental damage that may occur.
- Customisation allows you to match the colour palette or tile that you chose with the bath panel that you have purchased.
- Adds value to the bathroom space.
Tools and materials that you need
Before you begin, make sure you have all of the necessary tools and materials:
- Tape measure
- Saw (hand saw or circular saw)
- Drill and screwdriver
- A spirit level is essential for ensuring that your layout is perfectly aligned during the bathroom remodel.
- Adhesive (No More Nails or similar) is a crucial component for securing elements during your bathroom renovation.
- Silicone sealant
- Timber battens (for the framework) are essential in any bathroom renovation project.
- MDF, plywood, or tile backer board (for the panels)
- Screws and wall plugs
- Optional: Hinges or removable panels for access to pipes
A Comprehensive Guide to Boxing in a Bath
Measure the available space
Measure the height and length of the area you need to box in accurately with a tape measure. You will be cutting your panels and lumber to size, so double-check your measurements.
Assemble a Timber frame
Provide a frame around the bath’s side using timber battens. Secure the battens to the wall and floor using wall plugs and screws. Ensure that everything is level before proceeding. Your bath panel is supported by this frame.
Cut and Connect the Panels
Cut the board of your choice, MDF, or plywood to fit over the frame. Using screws or potent glue, fasten the panel to the wooden battens. Use tile backer board or another material that can support tiles if you are tiling over the panel.
Ensure that the edges are sealed
Apply silicone sealant to all of the panel’s edges once it has been installed, paying particular attention to the areas where the panel meets the floor and the bath. By doing so, water is prevented from entering the panel’s inside and inflicting harm.
Applying the Final Touches
In order to make the panel match with the rest of your bathroom, you may now paint it, put waterproof panels or tile it. Adding a small access hatch or using magnetic fastening for simple removal is something to think about if access to the plumbing is required.
Avoid these common renovation mistakes
- The pipes are inaccessible. Always ensure that there is a way to access the essential plumbing in the event that repairs are needed.
- Using materials that are not suitable. Regular MDF or untreated wood, both of which may warp when exposed to moisture, should be avoided.
- Poor sealing. Silicone should always be used to stop water from getting behind the panel.
Trying to renovate your small bathroom on a tight budget?
Do-it-yourself bath boxing is a cost-effective way to give your space a clean and polished look without the need for a major makeover, which is ideal if you are looking for ways to upgrade your bathroom on a budget. This project is surprisingly inexpensive, and it can be used for a variety of purposes, including concealing unattractive piping or simply achieving a more modern finish around your bathtub.
Should You Do It Yourself or Depend on a Professional?
This is a pretty easy diy project if you know how to measure, cut, and drill, making it ideal for a small bathroom layout. It is maybe not ideal for a first project so if you are planning on you’re tiling or want a flawless finish, an experienced bathroom fitter can make sure everything is long-lasting, flush, and waterproof.
Conclusion – A simple way to maximise your bathroom design
Your bathroom’s feel and look can be totally changed with this easy yet effective do-it-yourself project: boxing in a bath. Whether you want to protect your plumbing, hide exposed pipes, or just create a cleaner, more modern look with an illusion of more space, this project provides both style and functionality at an affordable price. You can do it yourself without paying a contractor if you have the proper equipment, supplies, and a little forethought, making it easier to achieve your desired bathroom transformation. Use water-resistant materials, make sure everything is securely sealed, and make sure plumbing is easily accessible. Whether you’re on a tight budget or updating your bathroom as part of a complete makeover, bath boxing is a clever, stylish way to add long-lasting value.